

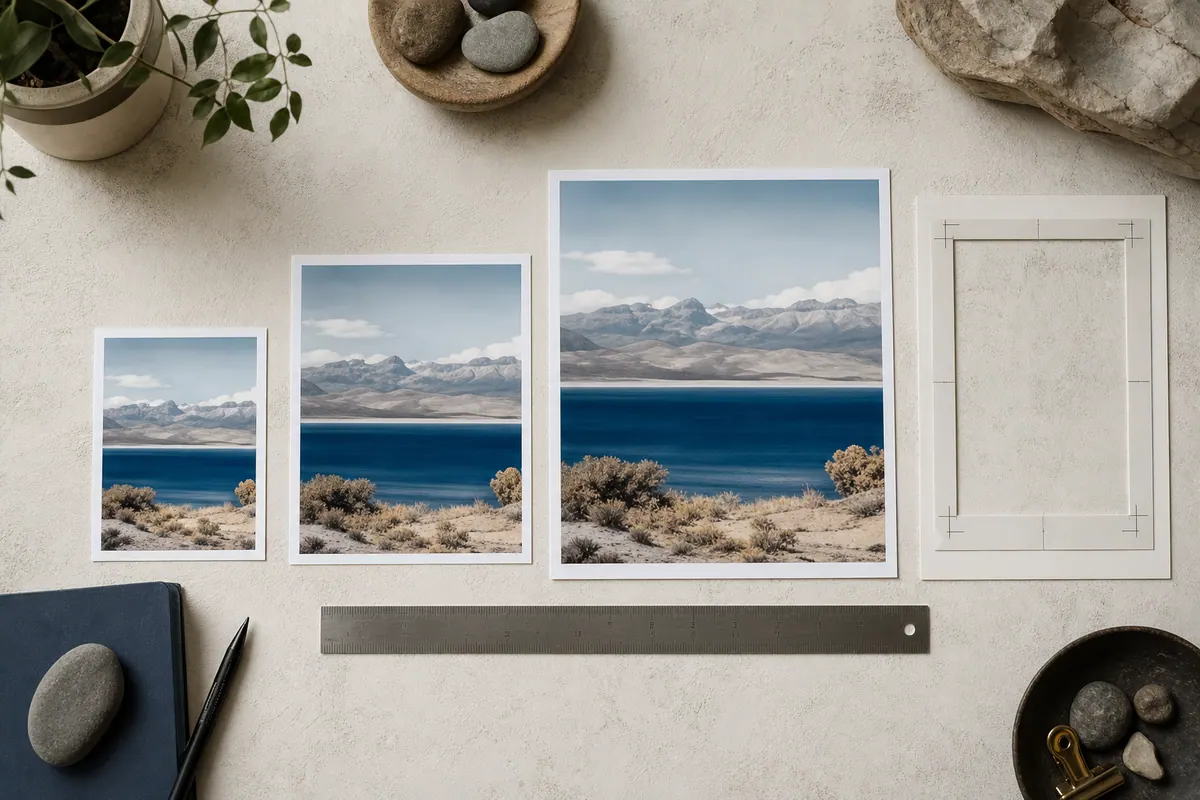
Resizing changes dimensions, not merely file weight
A 6000 × 4000 camera photo is large because it has many pixels. Resizing changes that pixel grid. Compressing, by contrast, changes how efficiently the pixels are stored. Both can reduce a download size, but they solve different constraints.
Start with the dimensions required by the final use. A profile image may need a square crop, a presentation needs enough pixels for its display width, and a website needs only enough detail for the space where it appears.
Keep proportions intact unless the destination needs a crop
Most photos should retain their original aspect ratio. If a landscape image is 3:2, changing only its width while preserving proportions produces a natural result. Manually forcing both dimensions can turn circles into ovals and faces into stretched shapes.
- Use exact width or height when a platform gives one dimension and allows the other to scale.
- Use a percentage for a quick proportional reduction of a very large source image.
- Crop to a new aspect ratio before resizing if the destination requires a square, portrait, or banner shape.
A simple local resize workflow
Keeping the work local is useful when the image contains a person, a customer, a home, a document, or a private event. It also means the original stays under your control while you compare the result.
- Choose a JPG, PNG, or WebP image from your device.
- Enter the target pixels or select a percentage, leaving the aspect ratio locked where appropriate.
- Create the resized copy and compare both dimensions and file size.
- Open the result at the size it will be used and check fine details such as text, faces, and edges.
- Save a descriptive copy and keep the full-resolution original separately.
Resize after privacy edits, then inspect the final copy
If an image needs a crop or a visible redaction, complete that content work before choosing the delivery dimensions. The final resize may make a faint blur look clearer or put a cropped detail back into view, so the delivered version deserves one last check.
For sharing, it is sensible to treat the full-resolution source as private and the resized result as a separate output. This keeps the original available while making it clear which file has actually been reviewed for the destination.
Common questions
Keep the aspect ratio locked. When you set the width, the height should update proportionally, or vice versa. If a destination demands a different shape, crop first instead of forcing the image into it.
Downscaling removes pixels, and JPG or WebP export adds compression. A good resize keeps the result clean for its intended size, but it cannot create genuine detail that was not present in the original.
The browser creates a fresh image from the visible pixels at the dimensions you select, so the original EXIF block is not copied into the new result.
Yes. A browser-based resizer can decode, resize, preview, and export the file on your device. REMOVEMYEXIF keeps JPG, PNG, and WebP image processing local to the browser.
Continue with the right workflow
Redact a sharing copy
Cover visible private details before you prepare an image for a smaller destination.
Open resourcePractical guideRedaction before sharing
Choose a safe cover treatment and review what an image still reveals.
Open resourceREMOVEMYEXIF processes supported files locally in your browser. Your file does not need to be uploaded to a cleaning service.